Minimal Linux distribution - Part 3: Kernel + Toybox
Last time, we successfully booted a Linux kernel with a BusyBox userspace. Today, let’s try the same process, but this time with Toybox.
The Plan
Every good project needs a plan, right? Here’s what we’ll do:
- Compile the Linux Kernel – Follow the same steps from Part 2.
- Build Toybox – A lightweight userspace alternative to BusyBox.
- Package everything into a bootable image using Syslinux, just like before.
In short, we’re swapping out BusyBox for Toybox to see how it performs. The rest remains mostly unchanged.
Building Toybox
This process is similar to compiling the Linux kernel: get the sources, configure, and build.
These steps assumes that you just compiled your Linux kernel, so You are now in
<project_root>/linux-<some_version>directory- Grab the toybox sources and save those in project root
1
2
$ cd ..
$ wget https://github.com/landley/toybox/archive/refs/tags/0.8.12.tar.gz
- Extract toybox archive
1
$ tar -xjf toybox-0.8.12.tar.gz
- Compile, similarly to Linux kernel Building Toybox is a bit more involved than the kernel. We need to: link it statically by setting LDFLAGS, enable the shell (CONFIG_SH=y) and routing tools (CONFIG_ROUTE=y), which are disabled by default.
1
2
3
4
5
$ cd toybox*
$ export LDFLAGS=--static   # Link statically
$ make defconfig            # Generate default configuration
$ echo "CONFIG_SH=y" >> .config    # Enable shell support
$ echo "CONFIG_ROUTE=y" >> .config # Enable route tool
Now, we can start the build process:
1
$ make -j$(nproc) # as usual nproc to use all available processor cores
- Install Toybox in rootfs directory Once compiled, install Toybox into the initramfs directory.
1
$  PREFIX=../initramfs make install
At this point, Toybox is installed. The next step is to package everything—kernel, initramfs, and Syslinux configuration—into a bootable disk image. Since these steps are the same as in Part 2, you can follow along there. When everything is completed you should have something like this:
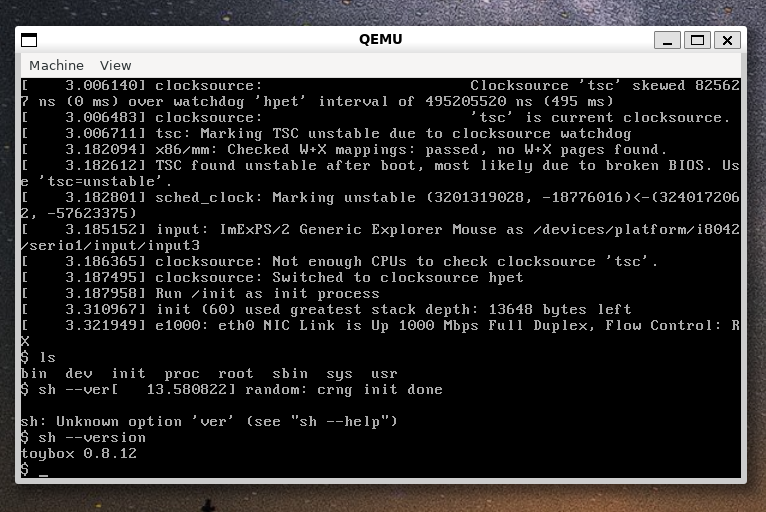
Look mum, a running “distro” with toybox this time
Summary
In this post, we revisited our approach to building a minimal Linux system, replacing BusyBox with Toybox. While the process is mostly the same, there are a few subtle differences. In the end, we successfully booted a working system, proving that Toybox is a viable alternative.
Stay tuned for more experiments!